
5 Ways to Make Your Baking Better
Let me just start this post by saying, I have no idea how my mom was able to raise six kids, work a full-time job, and also make a dessert for us multiple times a week. Every day I become more aware of all the hard work and effort it took to successfully raise six kids, but that's a blog post for another day.
There are some things that you learn as you become an adult like taxes are the worst, and your mom's baking is just superior to other mom's. I feel pretty lucky that I not only had a mom that baked often but also a mom that taught me how to bake.
Baking is a skill that's great to have but takes practice to learn. A lot of the tips and tricks that I use today I learned with my mom as a kid. To some people, these tips might seem a little basic, but in baking, it’s the little things that make all the difference.
I know that not everyone is lucky enough to have a mom or to have a mom that bakes well. In this post, you'll find some simple tips that will instantly improve your baking! They're mom approved!

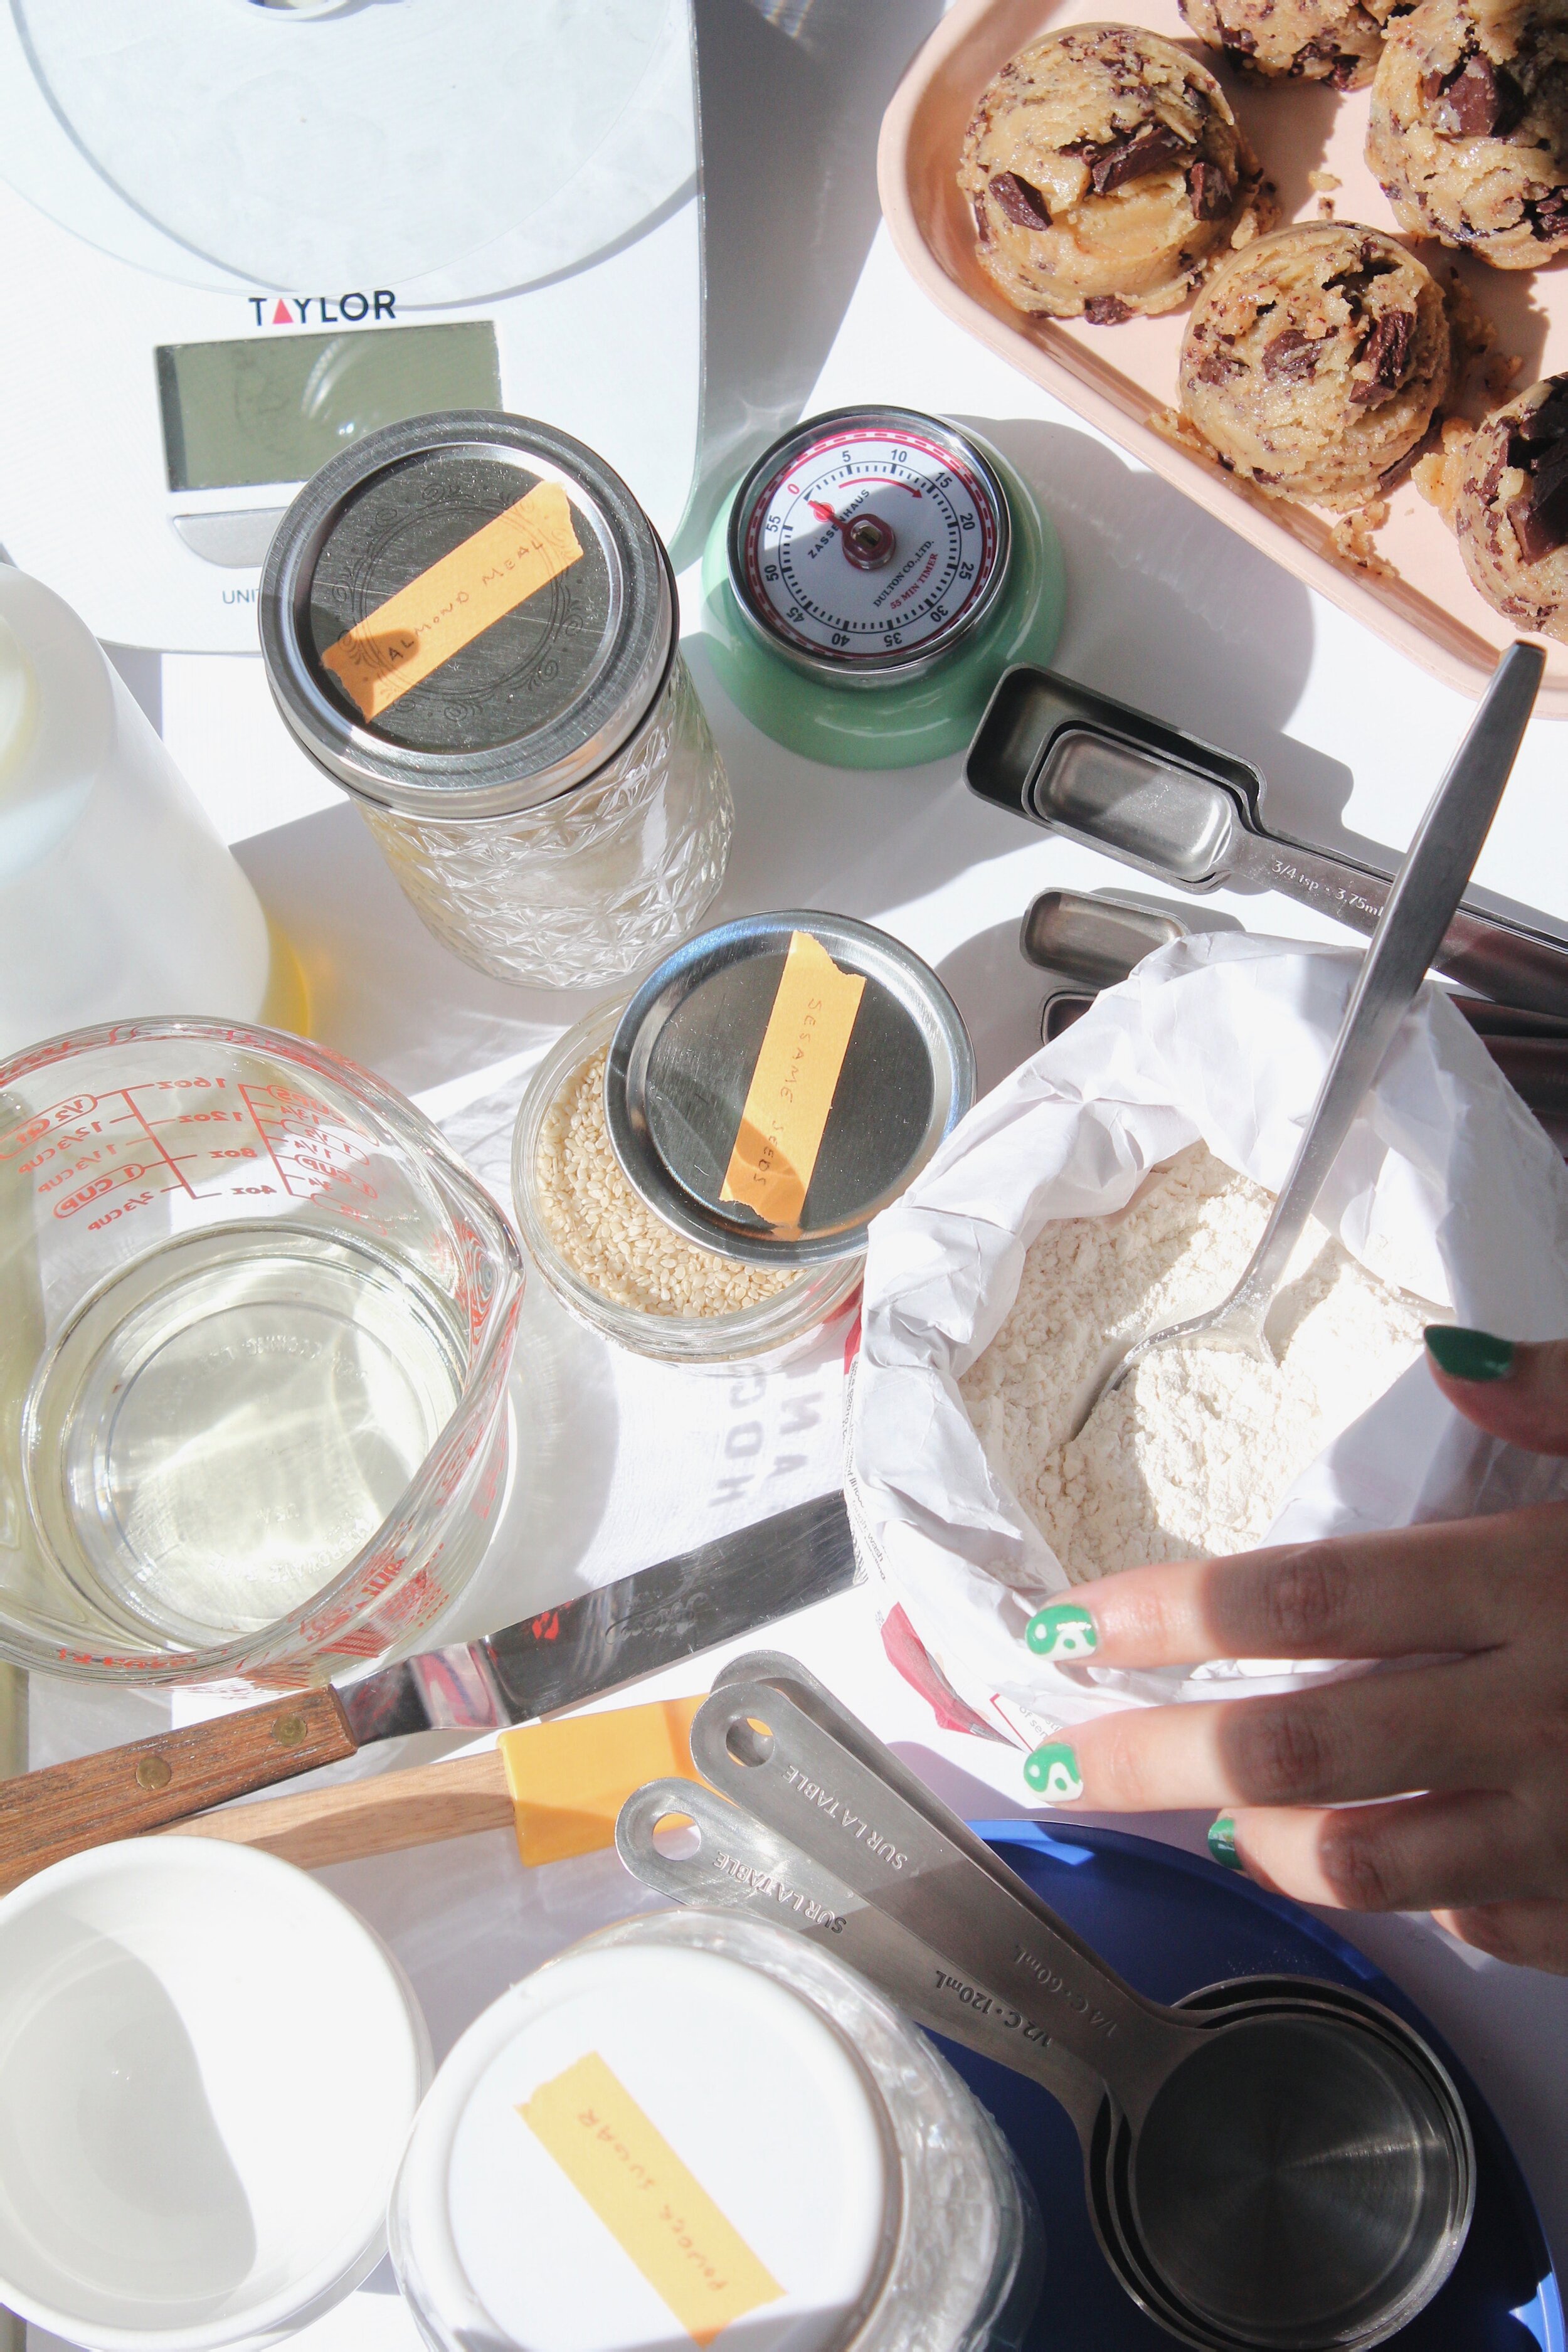
Wet measuring cups and dry measuring cups are different. Buy both, or do yourself a favor and buy a kitchen scale!
This is a simple tip that SO many people don’t follow! To understand why you need to properly measure your ingredients think about baking like science and cooking like art. They’re two totally different things. When you go to cook a new dish you might think yourself, “I love spice, I’m going to add in a few more tablespoons of chili flakes”. That logic works when cooking because adding extra won’t change the way the dish physically turns out. However, in baking, adding an extra few tablespoons of anything can dramatically change the way a cookie tastes, looks, and feels! Recipes for baking are measured to a tee, and they work because of the science and testing behind it! If there’s one thing I’ve learned with baking is stick to the recipe if you want it to turn out right!
Okay, back to the measuring cups! Here’s the main difference between dry and wet measuring cups, they’re designed to do a better job at measuring their respective ingredients. When you measure out a cup of brown sugar, you pack it into your measuring cup. This is a lot easier to do when you have a flat lip as you do on a dry measuring cup. If you do the same process in a liquid measuring cup it’s nearly impossible to get a flat level, exactly at the one-cup line. The same thing works in reverse. Have you ever tried to measure a cup of milk in a dry measuring cup and accidentally spilled it all over the counter? Same. You live and you learn!
If you’re getting more advanced with baking I highly suggest purchasing a kitchen scale. Almost all good recipes will also have measurements in grams in addition to measurements in cups. The goal of using measuring cups is to get the same measurement every time, which is why we have rules for measuring certain ingredients, like packed brown sugar, or sifted all-purpose flour. With a scale, you can remove some of that error. For example how packed do you pack your brown sugar vs how packed I make mine. I’ll say this till the day I die, buy yourself a kitchen scale.

Parchment paper, Spray Pam, and Greasing your baking dish
Picture this, you’re going to start your recipe and the first step says something like, ‘line a cookie sheet with parchment paper and set the oven to 350 degrees’. If you don’t have the parchment paper, don’t make the cookies! I feel like this one is controversial but if you don’t have parchment paper in your pantry, go get some! If you’re looking for a nice sustainable solution you can also try out these silicone mats that are popular amongst chefs and home cooks alike. I’ve seen people oil their cookie trays or line them with tin foil and I would highly advise against this if you can! Both of these methods will alter the way the bottom of your cookie bakes!
In a different scenario, you’re making a cake or loaf of some sort- your recipe asks you to coat your pan with Pam. Easy enough! Okay, but what does it mean when a recipe asks you to grease your pan? Basically, you want to coat your pan with some butter. You can do this by taking your room temp stick of butter and smearing generously. Or for a quick and efficient option, take a paper towel, wrap it around your fingers and use it to scoop up some butter or margarine. Use your paper towel coated fingers to lather up the inside of your baking dish and you’re ready to go! Alternatively, I’ve also seen people use the butter wrappers, with the butter remnants to achieve the same results. Could you theoretically grease your pan with spray Pam? Sure, but remember what I said before- baking is like science.
Use the right ingredients and know when you can substitute
The way a cookie rises is based on the temperature of the oven, the way the moisture evaporates, and how much baking soda or powder you use! So much science goes into those little cookies! However, I get it, we've all wanted a chocolate chip cookie at midnight on a Saturday and rummaged through our pantry to find all the ingredients. Somehow, you're always missing just one thing. There are a few rules that I use when making substitutes for ingredients in baking recipes. First, consider what the ingredient does for the cookie. If you’re looking to substitute chocolate chips for butterscotch morsels, then you’re just changing the flavor a bit! That’s an easy sub, just swap out the ingredient for the same amount aka one to one. If you’re out of granulated sugar and you’re looking for a substitute, that changes things a bit. Things like sugar, flour, oils, milk, butter, and other fats are a little tricky. You may be able to substitute out one of these ingredients in a recipe for something similar. No white sugar? Can you do a 1:1 sub for brown sugar? No vegetable oil? You can probably safely use olive oil instead. However, if you are missing one or more of these ingredients I wouldn’t expect to get perfect results! I guess this all depends on how Instagrammable you want your baking to be vs. how bad your sweet tooth is. A predicament I’ve found myself in one too many times.

Read your recipe all the way through, before you start
All in all, the best rule of thumb is to read through a recipe and its ingredients before starting! Baking is supposed to be a fun project, take time to set yourself up for success! I always set out all my ingredients on the counter before embarking on a recipe. It’s a good practice to get into to make sure that you’re baked goods turn out just right.
Start with the shortest suggested bake time and then check!
Just as important as the ingredients, is the baking. Give your oven time to preheat properly and then start baking! Because everyone’s oven is a little bit different be sure to set your timer for the shortest suggested bake time and then come back to check-in. If you have an oven with a window, just use the oven light but be sure to turn it off when you aren't viewing your project! The oven light can add heat to the oven! If your cake giggles in the middle, it needs more time. If your cookies are pale, they need more time. There is much debate about using cake testers to measure the done-ness of baked goods. I personally use a cake tester that I bought online for a few bucks. It's easy, it works, and it doesn’t leave a giant gash in my cakes. However, if you’re just getting into baking a plain old butter knife will work just fine! I poke the center with it and if it comes out clean then your cake or loaf is done! If there is goopy batter on it, then give your cake a few more minutes and come back! Nothing is worse than an undercooked baked good so I prefer to err on the side of more done.
If you’ve made it to the end congratulations! You’re five simple steps closer to being the best baker ever. I hope you enjoyed these little tips and tricks! Let me know which is your favorite in the comments below!